Microsoft Word can place one picture over another, but the result depends on text wrapping, object order, and the version of Word you use. If the images remain “In Line with Text,” Word treats them like large text characters and they cannot overlap freely. Once you choose a non-inline wrapping option, each picture becomes a floating object; if Word still keeps the pictures apart, enable Allow overlap for each one in the advanced layout settings.
There are two practical workflows:
- Build the overlay inside Word when each picture must remain editable in the document.
- Create one finished image first when you want stable placement, predictable export, or reuse across several documents.
This guide focuses on desktop Word for Windows and Mac. Menu wording varies by version; Word for the web has more limited picture-layout controls, so some steps below may not be available there.
Method 1: Overlay pictures directly in Word
Insert the first picture
Place the cursor near the intended location. Open the Insert tab, choose Pictures, and select the source. Word may offer options such as This Device, Picture from File, Stock Images, or Online Pictures depending on the edition.
The first picture will usually appear in the document with In Line with Text wrapping. That mode anchors the picture inside a paragraph and makes normal text flow around it as if it were a character.
Change the first picture to a floating object
Select the picture and open Layout Options or Wrap Text. Choose a floating option such as In Front of Text, Behind Text, Square, or Tight. If the pictures will not overlap, open the advanced Layout or Position settings and enable Allow overlap for each picture; the exact path varies by desktop version.
For a simple picture-on-picture composition, In Front of Text gives the most direct control. If the picture is meant to act as a page background, Behind Text may be more appropriate. Square and Tight are useful when document text should wrap around the image rather than pass beneath it.
Insert the second picture
Insert the next image and change its wrapping mode as well. If one picture is still In Line with Text, it may resist free movement or push surrounding paragraphs when dragged.
Drag the second picture above the first. Use the corner sizing handles to preserve its proportions. Avoid dragging a side handle unless you intentionally want to change the width without changing the height.
Adjust which picture is in front
With an image selected, use Bring Forward, Bring to Front, Send Backward, or Send to Back. These commands control the stacking order. If the wrong image disappears, it is usually behind a solid part of another picture rather than deleted.
The Selection Pane can help when several objects overlap. It lists document objects and lets you select a hidden picture without clicking directly on it. In current Word for Windows, open Home > Select > Selection Pane; some desktop versions also expose it through an Arrange control.
Remove or manage the upper picture’s background
A transparent PNG is the simplest choice for a logo or cutout. If the file has a solid background, Word may provide Remove Background, Set Transparent Color, or other Picture Format tools. Results vary with image complexity. Set Transparent Color is suited to a single flat color; it is not a precise cutout tool for hair, shadows, or complicated edges.
In Word 2021 and Microsoft 365 desktop, select the picture and use Picture Format > Transparency. In older desktop versions, put the picture in a shape fill and adjust Format Shape > Fill > Transparency. Word for the web cannot make a picture transparent. If the exact appearance matters, prepare the transparency before inserting the file.
Why Word overlays sometimes move unexpectedly
Word is primarily a document-layout application. Floating objects remain connected to text through anchors. Adding paragraphs, changing margins, editing headers, or moving an anchor can shift the pictures.
Common causes include:
- One picture uses In Line with Text while the other floats.
- The two pictures are anchored to different paragraphs.
- “Move with text” is enabled and the anchor paragraph changes position.
- The document opens in another Word version with different font or layout metrics.
- A picture is placed partly outside the printable page area.
- The composition is copied into a new document with different margins.
For a one-off document, these behaviors may be manageable. For a reusable logo lockup, fixed illustration, form header, or image that must survive PDF export exactly, one flattened image is more reliable.
Method 2: Create the overlay before inserting it into Word
Use this method when the composition should behave as one object in Word.
Create the image in the browser
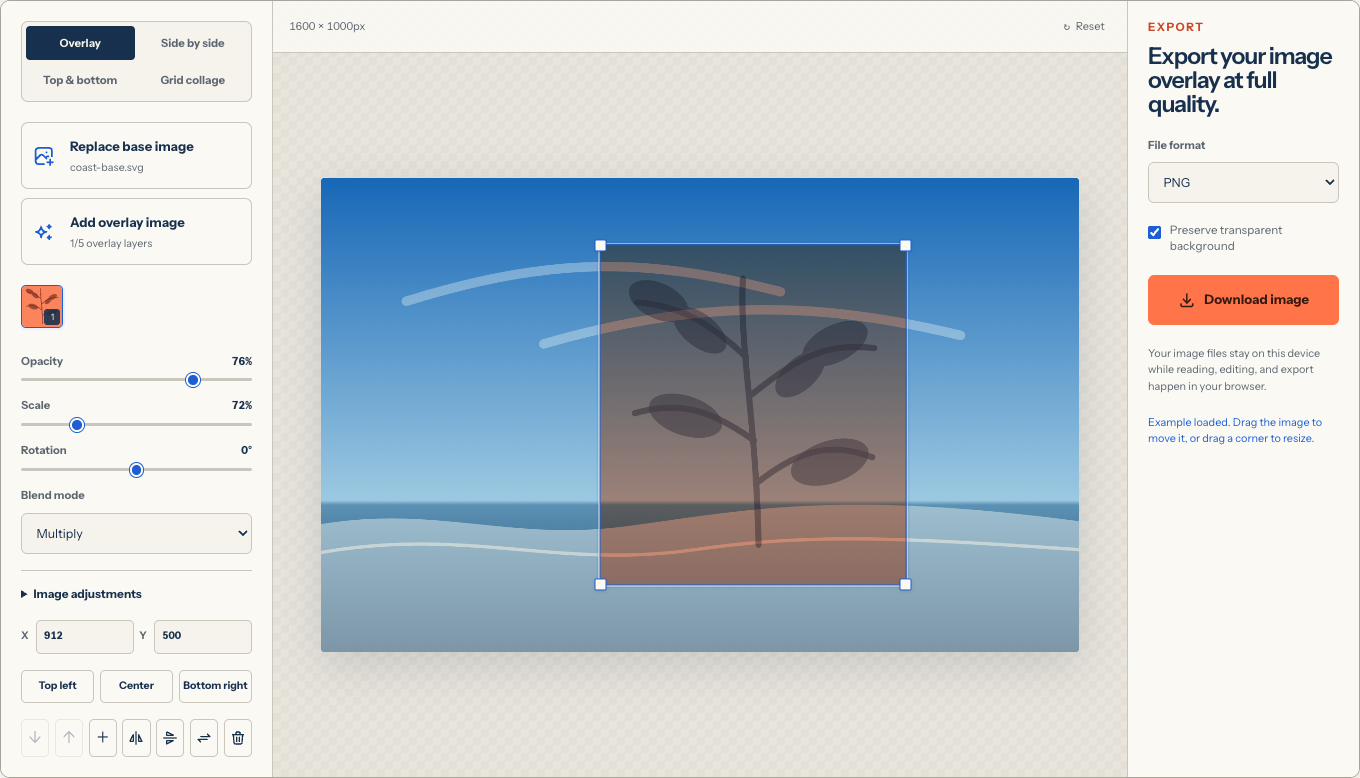
Open the image overlay tool. Upload the picture that should define the canvas, then add the logo, watermark, texture, or second photo as an overlay layer.
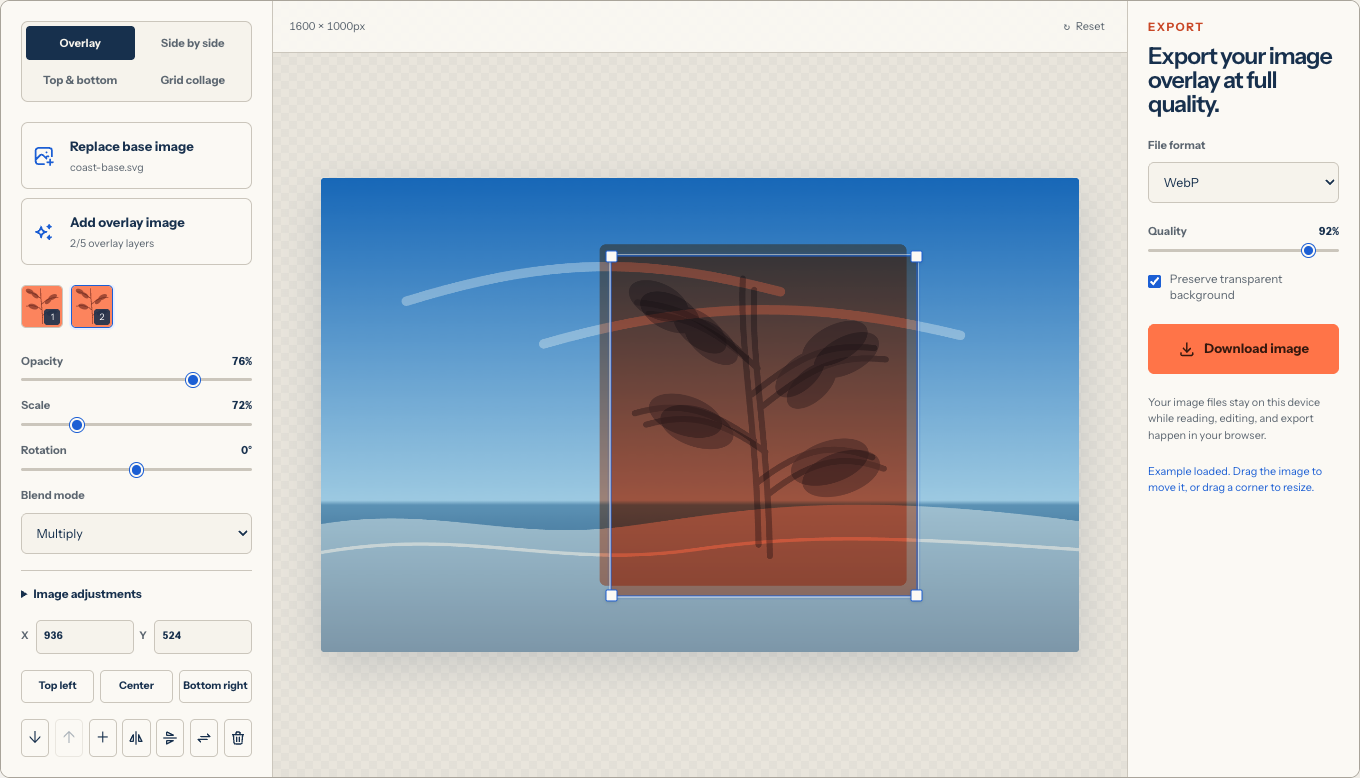
Move and resize the layer directly on the canvas, then adjust opacity or a blend mode when both images should remain visible.
Export one finished file
Choose PNG when the image contains transparency, a logo, screenshot text, or crisp graphic edges. Choose JPEG for a finished photograph on an opaque background. WebP can create a compact file, but confirm that the Word version and workflow receiving it support it. Choose PNG or JPEG when the destination requires those formats.
Insert the finished image into Word
Return to Word, open Insert > Pictures, and select the exported file. Word now treats the whole composition as one picture. You can resize it, wrap text around it, add a caption, or place it in a table without the internal layers shifting.
This method also makes PDF export more predictable. Word only needs to position one image rather than reproduce several floating objects and their stacking order.
Which method should you choose?
| Need | Overlay inside Word | Create one image first |
|---|---|---|
| Move each source later | Best choice | Layers are flattened in the exported file |
| Stable image composition across documents | Can shift with anchors and layout | Internal layers stay fixed, but Word still controls the picture’s page placement |
| Advanced photo blending | Limited and version-dependent | Includes opacity and blend modes |
| Transparent logo over a photo | Works with a clean PNG | Easy to preview before insertion |
| Reuse in slides, email, and web | Requires copying grouped objects | Reuse the exported file anywhere |
| Keep image files out of a cloud project | Depends on Office settings | Browser composition is local in OverlayImage.app |
If the images are part of the document’s editable design, use Word. If Word is only the destination for a finished visual, create the composite first.
Tips for a professional Word result
Match the image dimensions to its final use
Do not insert a tiny image and enlarge it dramatically. For print, make sure the source has enough pixels for the physical size. Word may compress pictures depending on application settings, so inspect the exported PDF rather than judging only the editing view.
Keep logos away from trim and page edges
Printers have margins, and Word documents may be viewed on different paper sizes. Leave enough space around a logo or watermark inside the image itself. This internal margin remains stable even when Word resizes the whole picture.
Use alt text in the document
The exported composite is one picture, so add meaningful alt text in Word that explains the useful content and relationship. Avoid filenames such as image1.png as the only accessibility description.
Keep the source files and exported composite separately
Word contains the flattened export, not the independent browser layers. Retain the original logo, photo, and exported result so you can recreate a different placement later.
Test the PDF
If the document will become a PDF, export a test and inspect page breaks, image sharpness, transparency, and layering. A result that looks correct in Word’s editing view can still change through font substitution, compression, or print settings.
Common Word overlay problems
I cannot drag one picture over the other
Change both images from In Line with Text to a floating wrap mode. In Front of Text is the easiest mode for direct overlap.
The upper image disappears
Open the Selection Pane or use Bring to Front. Also check whether the upper file has low opacity or was moved outside the page.
Text moves when I drag a picture
The selected wrapping style affects text flow. Choose In Front of Text if the picture should move without creating a text boundary, or prepare one composite first and place it in a stable document area.
The pictures separate after reopening the document
Group the objects if your version and object types allow it, check their anchors, or replace the live overlay with a single exported image.
The logo has a white box
Use a transparent PNG or remove the background before insertion. A JPEG logo always has an opaque rectangular canvas.
Frequently asked questions
Can I group overlaid pictures in Word?
Many desktop versions let you group floating objects when their wrapping settings are compatible. Select multiple objects, then use Group in the Arrange controls. Some combinations or Word editions may restrict grouping.
How do I put a picture behind text?
Select the picture, open Wrap Text or Layout Options, and choose Behind Text. Use the Selection Pane if the picture becomes difficult to select afterward.
Can Word blend two photographs?
Word offers picture corrections, transparency options, artistic effects, and layering, but it is not a full blend-mode compositor. Prepare the blend in an image editor when you need Multiply, Screen, Soft Light, or detailed per-layer adjustments.
Which format is best for Word?
PNG is reliable for transparency and graphics; JPEG is practical for photographs. WebP support depends on the Word version and environment, so test it before sharing the document broadly.
Are images uploaded when I prepare them in OverlayImage.app?
The working files are read, composited, and exported in the current browser. OverlayImage.app does not send them to an image-processing server or store them in a cloud project.
For a stable document graphic, create the finished image overlay first, then insert the downloaded file into Word as one object. For general layer concepts, see How to Put One Image on Top of Another.