Photoshop creates image overlays with layers. The lower layer supplies the main picture, and every layer above it can be moved, transformed, masked, adjusted, or blended independently. This gives Photoshop much more control than simply lowering the transparency of one picture, especially when you need selections, masks, retouching, color management, or a reusable layered document.
For a quick static result, those capabilities can also mean more setup than necessary. If the task is only to add a logo, watermark, texture, light effect, or second photo and download one image, a focused browser editor can avoid much of that setup.
This guide explains the normal Photoshop workflow first, then shows where OverlayImage.app is a practical alternative. The two products are independent; OverlayImage.app is not a Photoshop plugin or Adobe integration.
How to overlay images in Photoshop
1. Open the main image
Open the photograph that should define the document canvas. In Photoshop, this usually becomes the Background layer or the first normal layer depending on the file and application version.
Check the document dimensions before adding other files. The width, height, resolution metadata, and color mode influence the final export. If the composition is for a website or social post, pixel dimensions matter more than print resolution metadata. If it is for print, confirm the physical size and effective pixels per inch.
2. Add the overlay as a new layer
There are several ways to bring in the second image:
- Drag the file into the open Photoshop document.
- Copy it from another document and paste it.
- Use File > Place Embedded or Place Linked.
- Open both files and drag a layer from one document tab into the other.
Files added with File > Place Embedded or Place Linked become Smart Objects, which preserve source data while you transform the layer. A pasted image may become a normal pixel layer. Smart Objects are useful when you expect to resize repeatedly because transformations remain non-destructive until you choose to rasterize.
The newly added layer should appear above the main image in the Layers panel. If it does not, drag it upward in the stack.
3. Position and resize with Free Transform
Select the overlay layer and use Edit > Free Transform or the application shortcut for your platform. Drag inside the transform box to move the layer. In current Photoshop versions, dragging a corner preserves proportions when Maintain Aspect Ratio is enabled; the Shift key toggles that setting, so check the link icon instead of relying on an old shortcut from memory.
Confirm the transformation when the placement is correct. For precise work, use transform values, alignment tools, guides, snapping, or the Properties panel. A logo should retain its proportions and clear space. A full-frame texture should extend to the intended canvas edges without leaving an accidental seam.
4. Lower opacity when you need both pictures visible
The Layers panel includes Opacity and, in many workflows, Fill. Opacity changes the visibility of the entire layer, including many layer effects. Fill changes the layer content while allowing some layer styles to remain more visible. For a simple photo overlay, begin with Opacity.
Reduce the value gradually while watching important details in both pictures. There is no universal ideal percentage. A dark texture over a bright photo may need very little opacity; two similarly exposed photographs may need a more balanced value.
5. Choose a blend mode
The blend-mode menu controls how the selected layer’s pixels interact with layers beneath it.
- Normal keeps the original pixels and uses opacity for visibility.
- Multiply darkens by preserving darker information, useful for ink, paper, grain, and shadow.
- Screen lightens by preserving brighter information, useful for glow, light leaks, clouds, and stars.
- Overlay increases contrast by combining lightening and darkening behavior.
- Soft Light creates a gentler contrast and color treatment.
- Difference compares channels and creates high-contrast color effects.
Blend modes react to the actual pixel values. The same mode can look subtle on one pair of images and extreme on another. Try several, then return to Normal as a reference before deciding.
Use a layer mask for controlled blending
Opacity affects the whole layer. A layer mask controls where the layer appears.
Select the overlay layer and add a mask. On a standard mask, white reveals the layer, black hides it, and gray creates partial visibility. Paint on the mask with a soft brush or use a gradient to create a smooth transition between two photos.
Masks are one of the main reasons to use Photoshop for a complex overlay. They let you protect a face, product, sky, or text while showing the upper image elsewhere. The underlying source pixels remain available because the mask hides rather than erases them.
For cleaner edges, refine the selection or mask at a useful zoom level. Hair, translucent fabric, smoke, and foliage require more attention than a geometric logo. Avoid an extremely soft edge around every subject; the correct softness should match the focus and lighting of the scene.
Match color and light between the images
A believable composite requires more than placement. Compare brightness, contrast, color temperature, saturation, grain, sharpness, and light direction.
Use adjustment layers when possible. Clip an adjustment layer to the overlay if it should affect only that layer. Curves or Levels can align brightness and contrast. Hue/Saturation can reduce an overly colorful element. Color Balance, Selective Color, or other tools can bring the sources into the same palette.
Sharpness and noise matter too. A perfectly clean overlay on a grainy photo can look artificial. A small amount of matched grain or blur may integrate the element. Conversely, adding heavy blur to hide a poor cutout usually creates a visible halo rather than a natural edge.
Export the Photoshop overlay
Keep a layered PSD or compatible working file if you may revise the composition. Then export a separate delivery file.
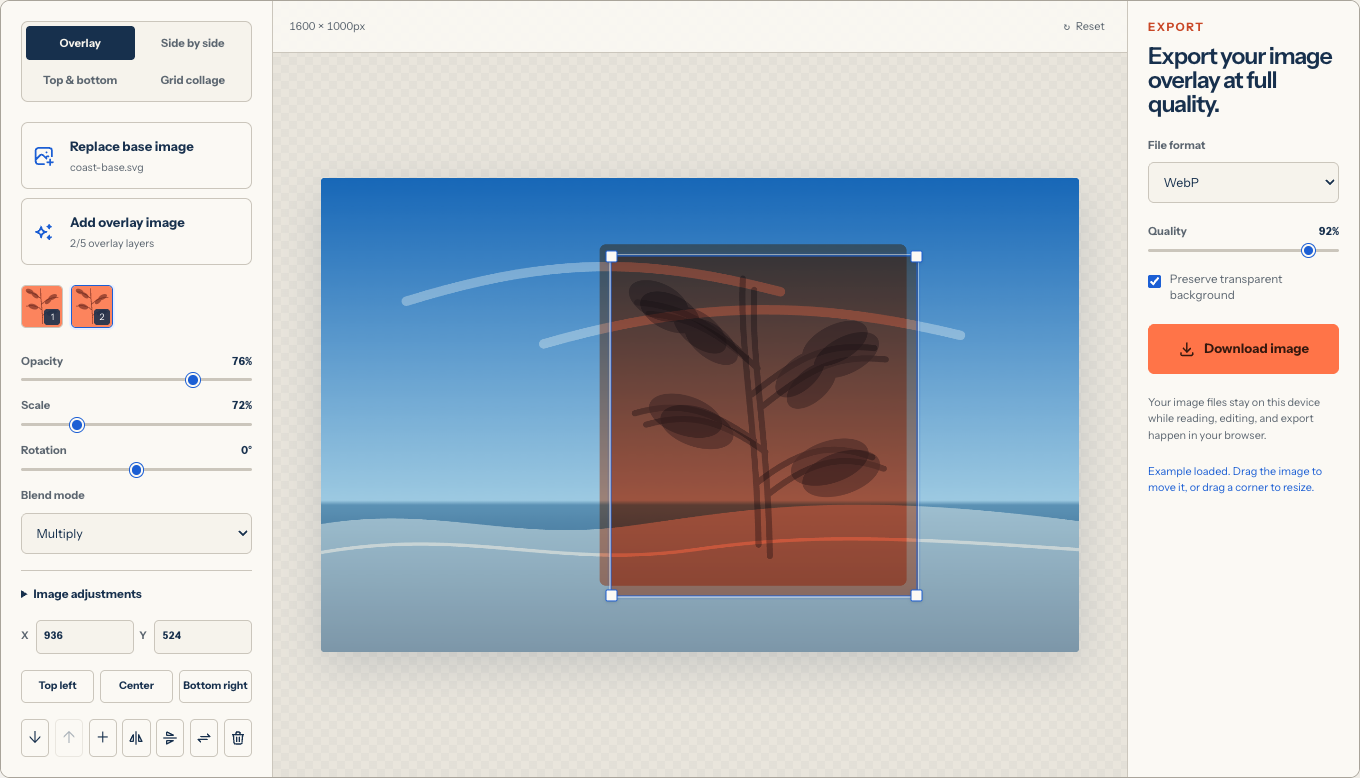
Choose PNG when the document already contains transparency or when you need lossless output for logos, interface graphics, or sharp text. Choose JPEG for a finished photograph on an opaque background. WebP can be useful for a smaller web asset when the destination supports it. Export controls and menu names vary across Photoshop releases, so inspect dimensions, color conversion, transparency, and quality in the current export dialog.
Before delivery, view the exported file outside Photoshop. This catches unexpected color-profile behavior, transparency changes, compression artifacts, and differences between the working document and flattened output.
A focused browser alternative
Use a focused browser tool when you do not need masks, selections, retouching, adjustment layers, Smart Objects, or a reusable PSD.
Add the two images
Open OverlayImage.app, upload the main picture, and add the second as an overlay layer. The upload control accepts up to five overlay files.
Transform the selected layer
Drag the picture to move it, drag a corner to resize proportionally, and use controls for exact coordinates, center alignment, rotation, flipping, duplication, and layer order.
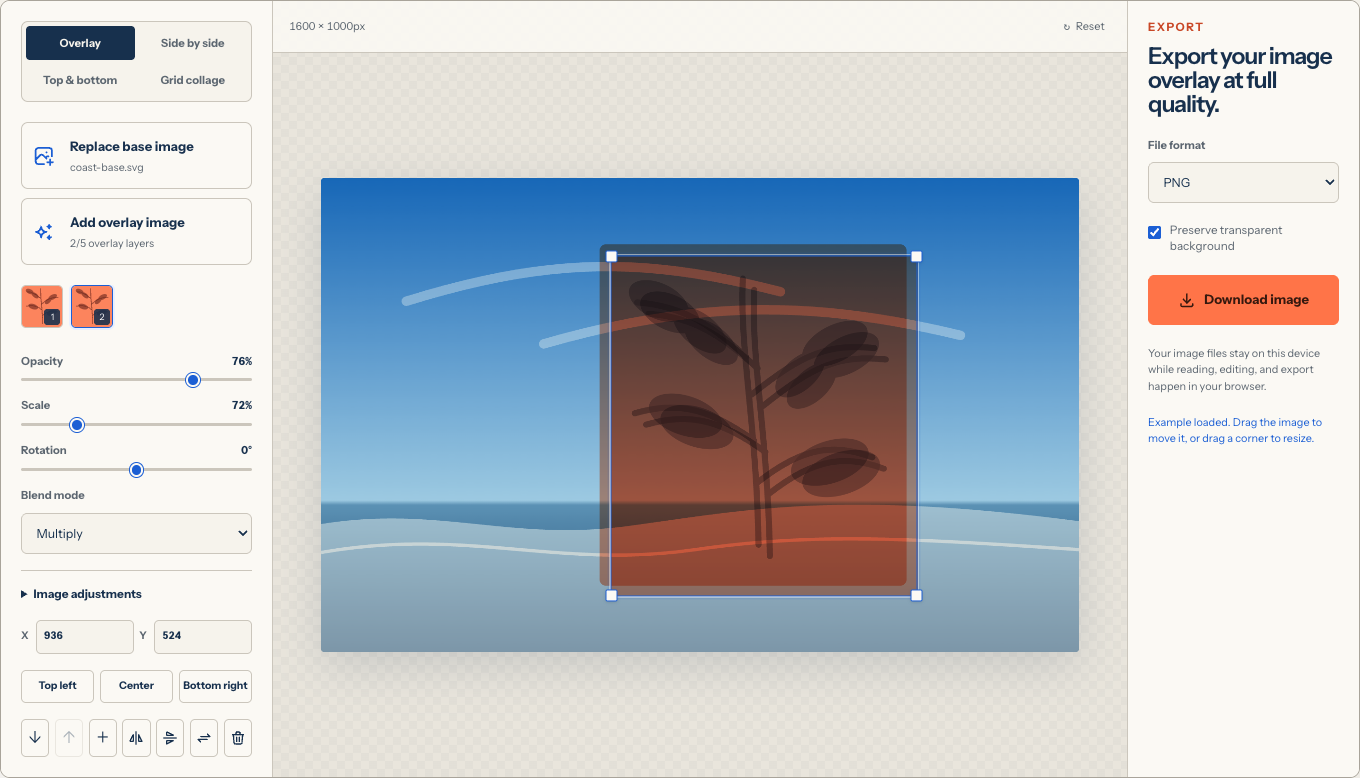
Adjust and blend
Set opacity, choose from twelve Canvas blend modes, and adjust brightness, contrast, saturation, and blur for the selected layer. The controls are narrower than Photoshop’s, but they cover the decisions needed for many logos, watermarks, textures, and photo blends.
Download the result
Choose PNG, JPEG, or WebP and download the canvas. There is no project dashboard, account requirement, or platform watermark.
Photoshop versus OverlayImage.app
| Requirement | Photoshop | OverlayImage.app |
|---|---|---|
| Layered image overlay | Full professional layer system | One main image plus up to five uploaded overlays |
| Masks and selections | Detailed non-destructive masks and selection tools | Not currently provided |
| Blend modes | Extensive professional set | Twelve practical Canvas modes |
| Smart Objects | Embedded and linked reusable sources | Not provided |
| Color correction | Deep adjustment and color-management tools | Brightness, contrast, saturation, blur |
| Text, painting, retouching | Comprehensive | Not provided |
| Installation and account | Desktop application and Adobe workflow | Opens directly in a browser |
| Working-file processing | Local desktop workflow, with Adobe services depending on setup | Working images processed in the current browser |
| Best use | Complex, reusable, production-grade editing | Quick static overlays, merges, and exports |
The browser tool is deliberately smaller. It removes the parts of Photoshop that are unrelated to a focused overlay task; it does not claim to replace the parts required for professional compositing.
Common Photoshop overlay mistakes
Editing the wrong layer
Check the Layers panel before transforming, painting, or adjusting. Rename important layers in larger documents. Accidental edits often happen because the visible subject and selected layer are not the same.
Erasing instead of masking
Permanent erasing removes options. Use a layer mask when you may need to restore an edge or change the transition later.
Repeatedly scaling a raster layer
Multiple reductions and enlargements can degrade a normal pixel layer. Use a Smart Object when repeated transformation is likely, or return to the original source at the required size.
Ignoring edge contamination
A cutout from a bright or differently colored background may carry a fringe. Refine the mask, remove color contamination carefully, and compare the edge against both light and dark parts of the new background.
Using a blend mode to hide poor composition
A dramatic mode can make two unrelated pictures look temporarily cohesive. Confirm the position, scale, subject relationship, and lighting in Normal mode before relying on blending.
Frequently asked questions
What is the easiest way to overlay two images in Photoshop?
Open the main image, place or drag the second image into the document as a new layer, transform it into position, then adjust opacity or the blend mode.
How do I fade one image into another?
Add a layer mask to the upper image and apply a black-to-white gradient on the mask. The gradient controls where the upper layer is hidden, partially visible, and fully visible.
Should I use opacity or a blend mode?
Use opacity when you only need the upper layer to become less visible. Use a blend mode when its colors or luminance should interact with the layer below. Both settings can be combined.
Do I need Photoshop to add a logo or watermark?
No. A focused browser editor can position, resize, rotate, and adjust the opacity of a transparent logo or watermark. Photoshop becomes valuable when you also need masking, detailed retouching, text design, or a reusable layered document.
Is OverlayImage.app an Adobe product or plugin?
No. It is an independent browser tool and has no official integration or affiliation with Adobe Photoshop.
For a simple static composition, overlay your images in the browser. For a simpler explanation of the same layer model, read How to Put One Image on Top of Another.